📑 Table of Contents (17 sections) — Tap to expand
⚡ Quick Takeaway (Position-0 Summary)
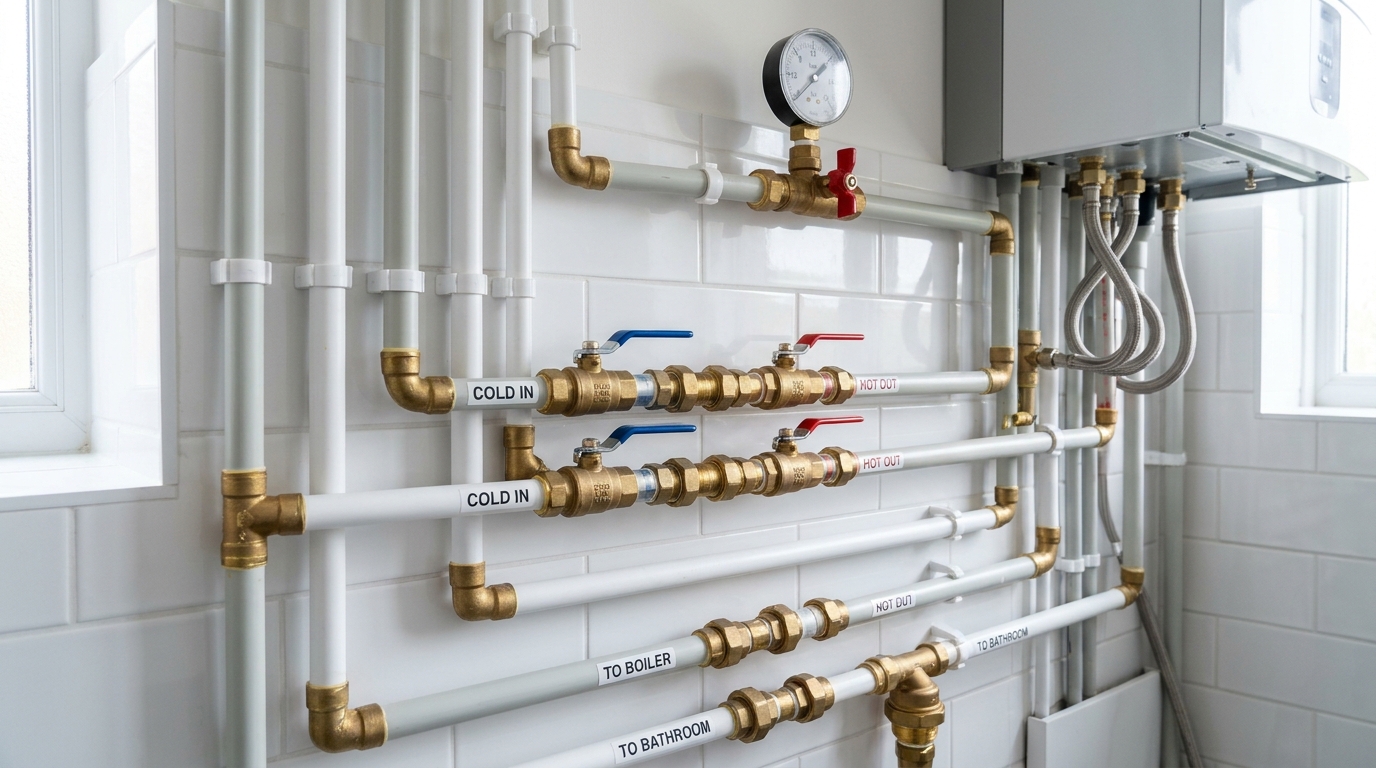
For internal potable water supply in Indian homes, CPVC is the industry standard for both hot and cold lines due to its high temperature rating (up to 93°C) and resistance to chlorine and scaling. UPVC is strictly limited to cold water (up to 60°C) and external plumbing/borewell supply. Never mix CPVC and UPVC solvent cements, and always use transition brass fittings when connecting geysers or diverters.
⚠️ Critical Safety Warnings & Precautions
Allow solvent cement joints to cure for a minimum of 2 to 4 hours in dry weather (and up to 24 hours in humid coastal monsoon conditions) before conducting water pressure tests. Test lines hydraulically with cold water, never with compressed air or gas.
Pipes are usually discussed when a wall is already open and the plumber is waiting for a decision. At that point, “take the better one” sounds convenient, but it leaves several questions unanswered.
Will the line carry hot water? Is it a pressure water-supply line or a drain? Which fittings and jointing products belong with it? The answer to each question affects what should be bought.
CPVC and UPVC both have useful applications in Indian homes. This guide explains the difference and helps you prepare a clear specification with your plumber.
Understanding CPVC and UPVC
CPVC is chlorinated polyvinyl chloride. It is used in purpose-designed hot- and cold-water plumbing systems. UPVC, also written uPVC, means unplasticised polyvinyl chloride and is used in several different piping systems.
Astral’s comparison identifies CPVC for hot- and cold-water service and appropriate UPVC systems for cold-water applications. The selected product’s pressure and temperature ratings remain essential. Do not apply one product’s maximum temperature to every CPVC pipe sold in the market. [1]
The material name also does not establish drinking-water suitability. Choose a product specifically intended and appropriately certified for the water-supply application.
Water-supply pipe, drainage pipe and other UPVC products can look familiar while serving different purposes. A pipe that works well for wastewater is not automatically suitable for a pressurised potable-water line.
Comparing the two systems
| Question | CPVC plumbing system | UPVC plumbing system |
|---|---|---|
| Intended water service | Hot and cold supply within the product ratings | Typically cold supply where the specific system is approved |
| Hot-water suitability | Confirm temperature and pressure together | Do not use a cold-water product for a hot-water line |
| Drinking water | Check the actual product certification and intended use | Check the actual product certification and intended use |
| Jointing | Use the approved fittings and jointing method | Use the approved fittings and jointing method |
| Outdoor installation | Follow the system’s exposure and support guidance | Follow the system’s exposure and support guidance |
| Price comparison | Compare the full specified installation | Compare the full specified installation |
A suitable cold-water UPVC system does not need replacing simply because CPVC is described as a premium option. Equally, a cheaper cold-water pipe should not be selected for a hot-water route.
The useful comparison is the complete system in its intended application.
Matching the pipe to its use
Hot water from a geyser
Have the plumber confirm the heater manufacturer’s connection requirements and the pipe system’s operating limits. Temperature, pressure and the installation arrangement must be considered together.
Astral and Ashirvad offer CPVC systems intended for hot and cold potable water, with product-specific guidance on connections and installation. Use that guidance for the chosen system. [2][3]
The short connector near the heater and the rest of the pipe route may have different requirements. Avoid treating every component as interchangeable.
Cold water to bathrooms and the kitchen
A suitable pressure-rated cold-water system may be appropriate. Ask about water source, operating pressure, pump arrangements and pressure variation.
An overhead tank does not establish the pressure at every fitting. Building height and pumping arrangements should be considered by the plumber.
Drainage and waste lines
Specify the drainage system separately. Flow arrangement, slope, access and fittings differ from a supply line.
Do not compare a drainage-pipe price with a pressure-supply-pipe price and assume the cheaper one can perform both jobs.
Exposed routes and different climates
Ask about support, movement, sunlight exposure and protection from damage. Very cold conditions can require a specific freeze-protection plan; a general claim that plastic pipe suits “all weather” is insufficient.
In hot and humid regions, check the real service temperature and installation conditions. For concealed work, document routes before they are covered.
Understanding the complete plumbing cost
A pipe price per metre describes only part of the work. Fittings, valves, transitions, supports, jointing products, labour, testing and making good can materially change the total.
A short route with several bends and connections may require more work than a longer straight run. Pipe diameter and system specification also affect cost.
Here is a fictional example showing the structure of a small quotation. It does not recommend a particular size or design.
| Work item | Illustrative allowance |
|---|---|
| Specified pipes, fittings and valves | ₹6,000 |
| Installation labour | ₹4,000 |
| Agreed testing and commissioning | ₹1,000 |
| Opening and reinstating surfaces | ₹2,500 |
| Subtotal before applicable taxes and other charges | ₹13,500 |
Compare quotations using the same route, fitting schedule and test requirements. Ask whether old-pipe removal, debris disposal and painting are included.
If you buy materials separately, agree who checks compatibility and quantities. Saving on the wrong fittings or solvent can create a much larger repair bill after the wall is closed.
Planning installation and testing
Structured Step-by-Step Execution Guide
- Step 1 - Map the actual application: Mark hot-water supply, cold-water supply and drainage separately. Note the source, heater and fixtures. Let the plumber assess the operating conditions and suitable system.
- Step 2 - Agree the product specification: Record the manufacturer, product range, size and rating, matching fittings, valves and approved jointing products. Keep the approved list with the order.
Check potable-water suitability where relevant. Avoid relying only on pipe colour, a verbal description or a similar-looking logo.
Structured Step-by-Step Execution Guide
- Step 3 - Plan routes and maintenance access: Choose practical positions for valves and connections that need future servicing. Coordinate cabinets, tiles and electrical routes.
Structural elements should not be cut as an informal shortcut. Have difficult routes assessed before the work begins.
Structured Step-by-Step Execution Guide
- Step 4 - Check the delivered materials: Compare markings and packaging with the specification. Keep invoices. Raise damage, unclear identification and substitutions before installation.
A fitting that can be pushed onto a pipe is not automatically an approved system connection.
Structured Step-by-Step Execution Guide
- Step 5 - Have the joints made using the approved method: Solvent cement is part of a jointing system, not a general household glue. Ashirvad’s guidance emphasises appropriate preparation, compatible solvent and curing as part of reliable CPVC work. [4]
Cure time varies with the product, pipe dimensions, temperature and test conditions. Do not impose a universal “ready in an hour” rule or pressurise a line because the outside looks dry.
This is a stage for a competent installer following the manufacturer’s instructions, especially on hot-water or concealed routes.
Structured Step-by-Step Execution Guide
- Step 6 - Test before covering: Agree the test method and acceptance record with the plumber. Use the manufacturer’s requirements for the system; do not improvise a compressed-air test on thermoplastic water pipe. [5]
Repair and retest any problem before tiling or closing the wall. Photograph the routes and valve locations.
Structured Step-by-Step Execution Guide
- Step 7 - Commission and keep the records: The installer should complete the required flushing and other commissioning procedures before use. Ask for a demonstration of accessible isolation valves.
Keep the system details so a future repair uses appropriate materials.
Buying and handover checklist
Before buying: Confirm the application, product range, size, rating, drinking-water suitability and complete fitting list.
Before closing surfaces: Retain the agreed test record and photographs of concealed routes.
At handover:
Check accessible joints, valve operation and the commissioned supply with the installer. Keep invoices and maintenance details.
If an existing leak recurs, investigate the failure rather than repeatedly covering it with an external patch.
Troubleshooting & Common Problems: Common pipe-selection mistakes
Choosing only by colour
Colours differ between manufacturers and product ranges. Read the markings and the actual specification.
Treating all solvent cements as the same
Use a product approved for the pipe material and application. Follow any primer and curing requirements for that system.
Assuming a pressure rating applies at every temperature
Ask the plumber to use the manufacturer’s pressure-temperature guidance. Hot-water conditions can change the allowable operating pressure.
Replacing pipes to solve hard water
A new pipe does not soften the water. Hardness and scale require a separate assessment of water quality and suitable treatment.
Frequently asked questions
Using CPVC for every line
It may be technically suitable for some applications, but a blanket choice can overlook drainage requirements or add unnecessary cost. Specify each application.
Connecting a new system to an old one
Use an approved transition arrangement. The materials, dimensions and jointing method need to be compatible.
Mixing brands
Do not assume physical fit establishes compatibility or warranty coverage. Ask the manufacturers or responsible installer for the approved arrangement.
Repairing concealed pipework yourself
An incorrect joint can remain hidden until it causes damage. Use a competent plumber and have the relevant section tested before restoring finishes.
Wrapping up
Identify the water service first, then select a pipe system with suitable ratings and compatible components. The fitting and the joint deserve as much attention as the length of pipe.
A clear specification and a test record are particularly valuable when the work will disappear behind a wall.
Related Guides & Services on Carpenterwala:
Sources and product guidance
Sources checked on 23 October 2026. Ratings, jointing and testing requirements must be confirmed for the actual product system.
- [1] Astral comparison of CPVC and UPVC
- [2] Astral CPVC hot and cold water system
- [3] Ashirvad FlowPro CPVC system and installation guidance
- [4] Ashirvad guide to CPVC solvent cement and curing
- [5] Astral CPVC technical manual including pressure-testing precautions

Suresh Gowda
Verified SpecialistSenior Plumbing Engineer & Hydraulics Advisor
Expert in high-pressure leak detection, municipal water lines, and residential plumbing diagnostics in South India.
⚖️ DIY vs. Hiring a Professional: When to Call an Expert
✓ Safe to DIY
- Minor screw tightening or loose hinge lubrication
- Basic component replacement with matching dimensions
- Routine surface touch-ups and non-structural adjustments
⚠️ Hire a Verified Pro
- Structural woodwork warping, masonry drilling, or rotted frames
- High electrical voltages, MCB trips, or water line pipe bursts
- Multi-room installations requiring specialized power equipment
💬 Comments (0)