📑 Table of Contents (18 sections) — Tap to expand
You want to hang a family photo frame, mount a heavy curtain rod, fix floating bookshelf brackets, or install a 55-inch TV wall mount. Sounds like a simple 10-minute job — until you actually switch on the drill machine in an Indian apartment. Either the bathroom tile shatters with an ugly diagonal crack, you hit an embedded metal rebar with alarming sparks, or the drilled hole turns out so powdery and loose that your plastic wall plug (*gitti*) spins in circles without holding any weight.
Drilling into a wall seems like the most basic DIY task, but in Indian construction (where homes feature a mix of dense RCC columns, red clay brick, porous AAC blocks, and vitrified tiles), one wrong move can damage concealed conduit pipes or ruin expensive wall finishes. The good news: with the right drill bit, proper rotary vs hammer speed control, and a systematic 10-step sequence, anyone can drill neat, rock-solid anchor holes cleanly.
Why Drilling Goes Wrong So Often in Indian Homes
Understanding the varied masonry materials inside Indian residential buildings prevents costly mistakes:
- Wildly varying wall composition: Indian apartments use a blend of dense Reinforced Cement Concrete (RCC beams and shear walls), red clay brickwork with sand-cement plaster, and lightweight Autoclaved Aerated Concrete (AAC) blocks. Each material requires distinct drill speeds, feed pressures, and anchor plug types.
- Unmarked concealed electrical conduit runs: Unlike Western construction where conduits follow standardized stud bays, Indian concealed PVC conduits often take diagonal routes or unpredictable horizontal runs between switchboards and ceiling fan points. Blind drilling near switchboards is a major shock and wire-severing hazard.
- Cheap or mismatched wall plugs (*gitti*): A loose fixture is almost always caused by using cheap recycled plastic plugs or drilling an oversized hole "to make the screw go in easily." A 6mm hole requires an exact 6mm nylon wall plug and a matching gauge screw.
- Using hammer impact mode directly on glazed tiles: Vitrified and ceramic bathroom tiles are brittle. Engaging the high-frequency impact hammer function against glazed porcelain shatters the tile glaze instantly.
What You Will Need
Gather these tools and safety equipment before starting:
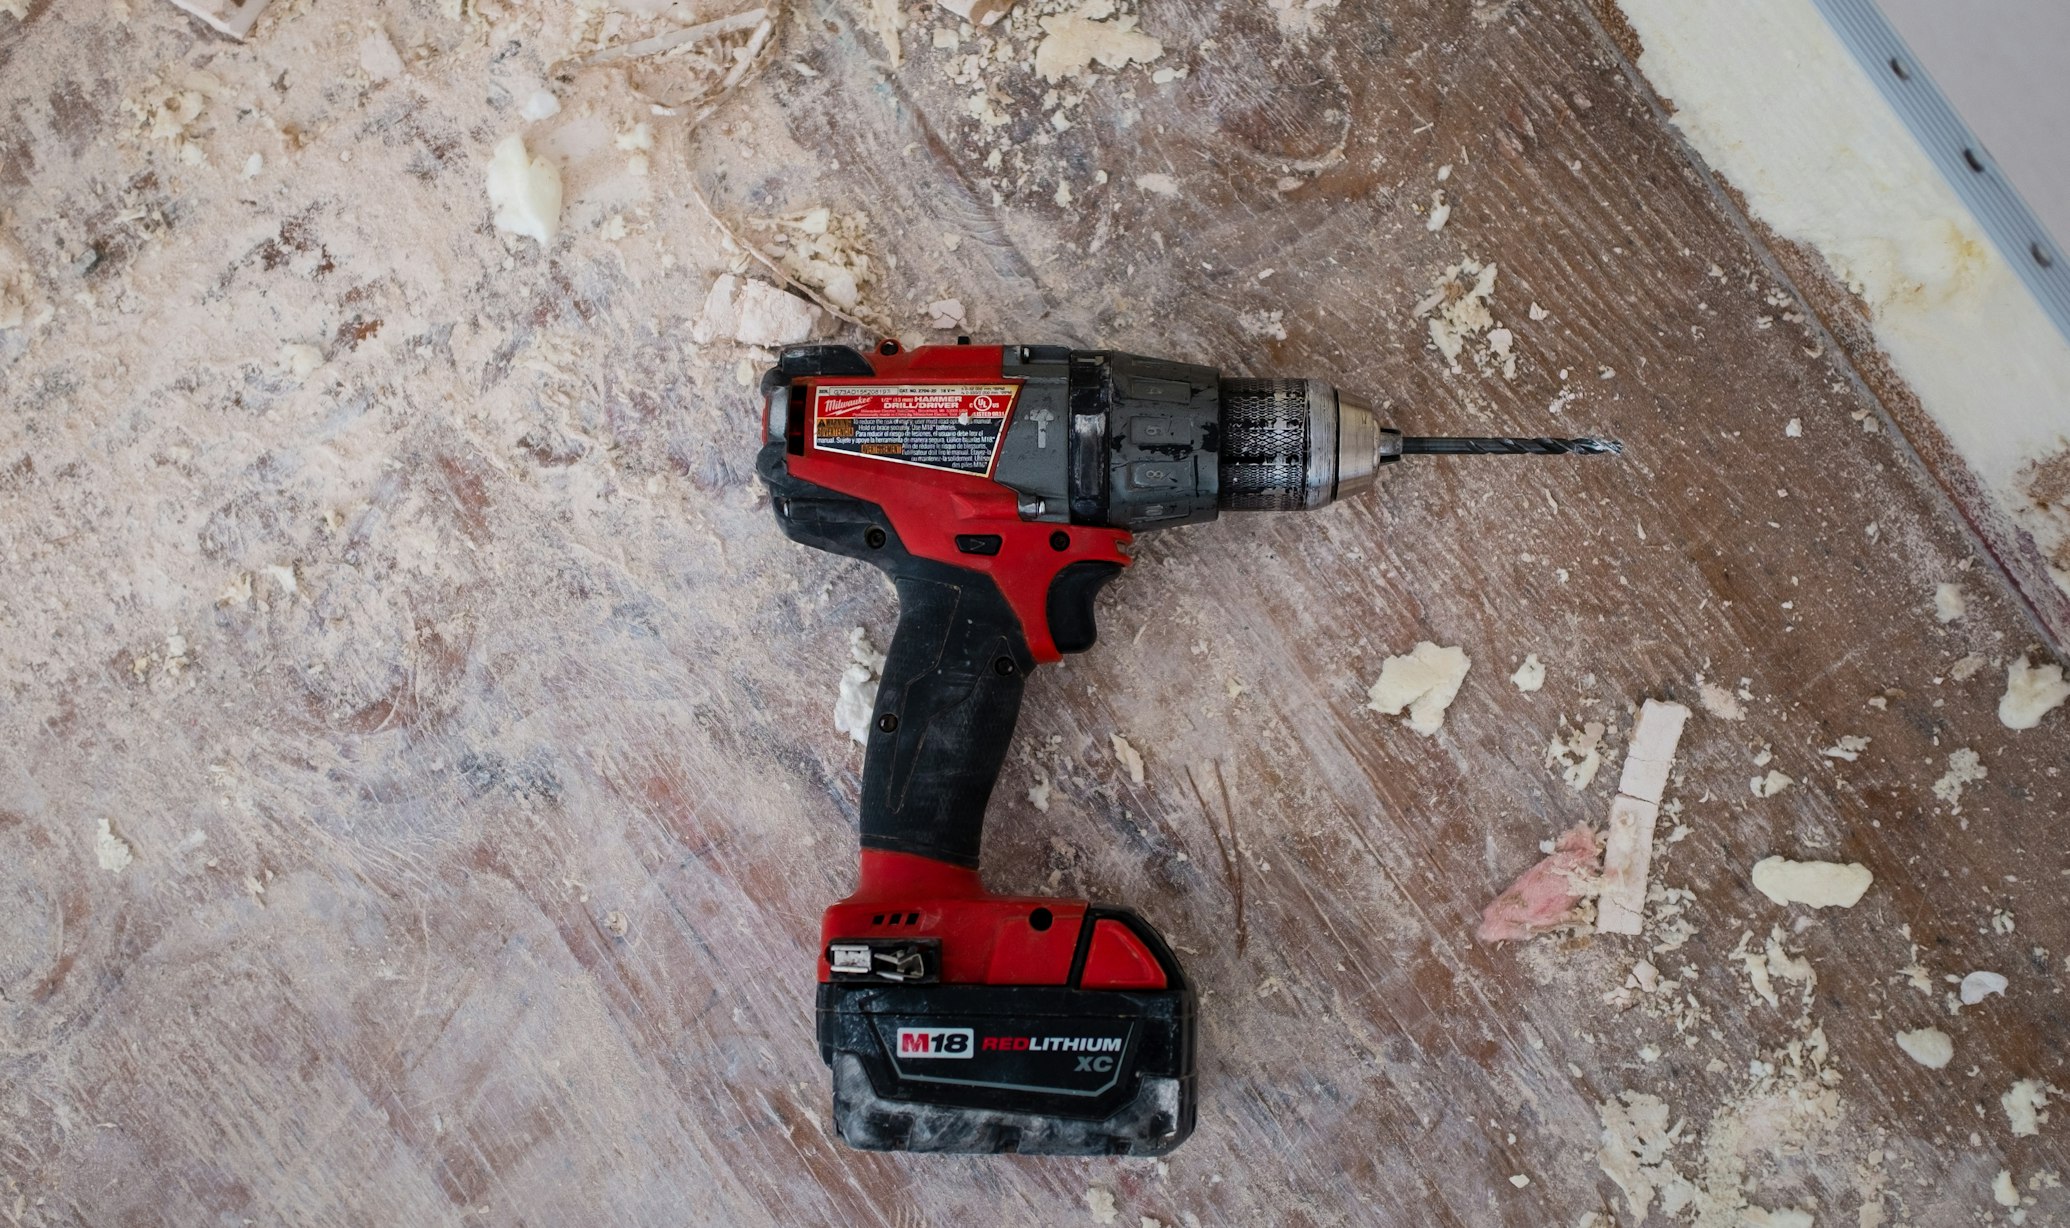
- Rotary hammer / impact drill machine: 500W–650W corded or 18V cordless drill (Bosch, Black+Decker, Cheston, or Dongcheng)
- Tungsten Carbide-Tipped (TCT) Masonry drill bits: 6mm, 8mm, and 10mm bits for standard brick and concrete
- Spear-point glass & tile drill bit (or Diamond Core bit): Essential for drilling glazed ceramic, porcelain, and vitrified wall tiles without cracking
- High-grade nylon wall plugs (*gitti*): Quality nylon anchors from Fischer or Taparia (6mm, 8mm, 10mm)
- Drywall / wood screws: Heavy-gauge zinc-coated screws matched to your anchor plugs
- Spirit level (torpedo level): For aligning horizontal shelves, curtain brackets, and TV frames
- Measuring tape & sharp pencil / masking tape: For marking precise drill targets
- Neon line tester / handheld stud & wire detector: For scanning concealed AC live cables
- Safety goggles & N95 dust mask: Mandatory protection against flying concrete chips and fine silica dust
- Claw hammer: For gently tapping wall plugs flush
- M-Seal epoxy putty / Wall Putty: For sealing any misplaced holes cleanly
⚠️ Safety Warnings: Read Before Drilling Any Wall
- Never drill within 15–20 cm of any switchboard, socket, or DB box: Electrical conduits run vertically and horizontally directly behind wall plates. Treat this entire perimeter as an active hazard zone.
- Trip the lighting/power MCB at the DB box before drilling near suspect wiring paths: Isolating the circuit will not stop you from nicking a wire, but it guarantees you will not receive an electric shock while holding the metal chuck of a power drill.
- Watch out for concealed plumbing pipelines in bathrooms and kitchens: Concealed CPVC/PPR water supply lines run directly behind showers, pillar taps, geysers, and flush tank inlets. Never drill directly above or below plumbing fittings without scanning.
- Stop drilling immediately if you encounter sudden resistance, metallic sparks, or burning smells: This indicates you have hit high-tensile steel rebar (*sariya*) or plastic electrical conduit. Pull the bit out immediately.
- Always wear safety goggles: Overhead and chest-height drilling expels high-velocity stone fragments and blinding silica dust directly at eye level.
- Use heavy-duty steel sleeve anchor bolts (*Rawlbolts*) for heavy structural loads: Large 25L water geysers, chin-up bars, and heavy floating TV units mounted on RCC walls require metal anchor bolts rather than basic plastic plugs.
Step-by-Step Practical Execution Guide
Step 1: Identify Your Wall Type
Tap the wall surface with your knuckle or the plastic handle of a screwdriver:
- Solid dull thud: Reinforced concrete (RCC pillar/beam). High density, requires high drill speed and hammer mode.
- Medium hollow-pitched resonance: Red brick or fly-ash masonry covered with cement plaster. Drills smoothly with masonry bits.
- Tiled surface: Ceramic or vitrified tiles laid over masonry. Requires a 2-stage drilling approach (non-hammer tile bit first, then masonry bit).
Step 2: Scan for Concealed Wires & Pipes
- Check the room layout. Draw an imaginary straight vertical and horizontal line from nearby switchboards, sockets, and plumbing points.
- Isolate the room MCB at the main distribution panel.
- If available, sweep a handheld digital wall detector over the drill target to confirm zero metal or live AC voltage signals.
Step 3: Measure & Mark with Spirit Level
- Measure the exact mounting distance on your bracket or shelf.
- Use a pencil and spirit level to draw a crisp, perfectly level horizontal reference line on the wall.
- Mark your drill hole centers with a distinct "X" mark.
- Pro Tip for Tiles: Stick a small square of masking tape or brown tape directly over the mark on glazed tiles. The textured tape prevents the sharp drill bit from skating or scratching across the glossy tile surface.
Step 4: Select the Exact Bit-to-Plug Match
- Light Duty (Photo frames, clocks, small wall art): 6mm Masonry Bit + 6mm Nylon Wall Plug + 3.5mm x 35mm Screw
- Medium Duty (Curtain rods, floating shelves, mirrors): 8mm Masonry Bit + 8mm Wall Plug + 4.5mm x 50mm Screw
- Heavy Duty (TV brackets, kitchen upper cabinets): 10mm Masonry Bit + 10mm Wall Plug (or 10mm Metal Anchor Bolt) + 6mm x 60mm Hex Screw
Step 5: Drilling Through Bathroom & Kitchen Tiles
- Insert a Spear-Point Tile Drill Bit into your chuck.
- Set the drill to Rotary Mode ONLY (Hammer mode OFF).
- Place the spear tip firmly against your tape mark at a 90-degree perpendicular angle.
- Drill at a slow, steady RPM (300–500 RPM) with light forward pressure. Dip the bit tip in a cup of water every 10 seconds to prevent overheating.
- Once the spear-point cuts cleanly through the ceramic tile layer into the brick mortar behind, remove the tile bit.
Step 6: Drilling into Concrete or Brick Masonry
- Insert the matching TCT Masonry Drill Bit.
- Wrap a small piece of masking tape around the bit 5mm past your wall plug's length to act as a visual **depth stop**.
- Switch the drill mode selector to Hammer / Impact Mode.
- Align the bit with the starter hole, hold the drill firmly with both hands perpendicular to the wall, and drill at full speed in short 3-second bursts.
- Pull the bit backward slightly every few seconds while spinning to eject powdery concrete dust from the flutes.
- Stop as soon as the tape depth marker reaches the wall surface.
Step 7: Clear the Dust Completely
A dusty hole reduces anchor friction by over 50%. Insert your vacuum hose nozzle directly over the hole or use a thin straw/hand pump to blow out trapped masonry powder (wear goggles!).
Step 8: Seat the Wall Plug (*Gitti*) Flush
Push the nylon wall plug into the hole by hand. It should fit snugly. If the last 5mm is tight, tap it gently with a hammer until the plug rim sits perfectly flush with the plaster or tile surface. Never force an oversized plug with heavy sledgehammer blows.
Step 9: Fasten the Screw Firmly
Position your mounting bracket and drive the screw in with an insulated screwdriver or drill-driver bit. You will feel progressive resistance as the nylon plug's dual wings expand outward, locking into the masonry cavity with a rock-solid grip.
Step 10: Verify Alignment with Spirit Level
Mount the shelf, curtain rail, or bracket, place your torpedo spirit level on top, and verify the bubble rests dead-center between the indicator lines before tightening final set-screws.
Troubleshooting Common Mistakes
- "The bathroom tile cracked across the center."
You used hammer mode against the tile or used an old dull bit. Always use rotation-only mode with a dedicated spear-point tile bit at low RPM until the tile is fully breached. - "The drilled hole is too large and the wall plug spins loosely."
The drill wobbled off-axis in soft plaster. Fix this by stepping up to the next larger wall plug size (e.g. use an 8mm plug in a loose 6mm hole), or wrap a generous coat of Araldite / epoxy putty around the plug before pushing it in. - "The drill hit something rock-hard and stopped progressing."
You hit a steel reinforcing bar (*sariya*) inside the RCC structure. Do not ruin your masonry bit trying to drill rebar. Shift your mounting bracket 2 cm horizontally or vertically and drill a fresh hole. - "The wall plug won't go in completely and sticks out 1 cm."
The hole wasn't drilled deep enough or masonry debris is packed into the bottom. Pull the plug out with pliers, re-drill with the masonry bit to clear the bottom debris, and reinsert. - "The fixture feels wobbly on hollow AAC blocks."
Standard solid-brick plugs do not grip porous AAC blocks well. Replace with specialized **Universal Nylon Expansion Plugs** (Fischer UX or DuoPower) that knot securely behind hollow cavity spaces.
When to Call a Professional Carpenter or Handyman Instead
While standard picture frames and curtain rods are easy DIY projects, call a professional if:
- You need to mount heavy overhead storage lofts, heavy geysers (25L+), or granite countertop supports requiring structural anchoring.
- You are drilling into pure RCC structural beams where multiple rebar strikes occur.
- You accidentally hit a concealed water pipe and observe moisture seepage.
- You need core cutting (large 3-inch to 6-inch circular holes) for kitchen chimney ducts or AC copper piping.
Wrapping Up
Mastering the art of clean wall drilling — knowing when to toggle hammer mode, matching bits to wall plugs, and tape-marking tile surfaces — turns tricky wall installations into quick, flawless weekend upgrades.
To continue mastering your home improvement toolkit, explore our related guides on installing magnetic door catchers and tower bolts, fixing stuck sliding wardrobe tracks, and electrical safety basics for testing and isolation.
Need a Master Carpenter for Heavy Shelving, TV Wall Units, or Modular Furniture Mounting?
If you're installing customized floating TV media units, large crockery lofts, or heavy wall-hung vanities, our expert carpenters are equipped with high-torque rotary tools and structural fasteners for a pristine finish. Book verified carpentry specialists across Bangalore in Whitefield, Koramangala, Indiranagar, and HSR Layout.

Rajesh Sharma
Verified SpecialistMaster Carpenter & Woodwork Consultant
Over 15 years of custom woodworking, furniture restoration, and modular interior fittings experience in Bangalore.
⚖️ DIY vs. Hiring a Professional: When to Call an Expert
✓ Safe to DIY
- Minor screw tightening or loose hinge lubrication
- Basic component replacement with matching dimensions
- Routine surface touch-ups and non-structural adjustments
⚠️ Hire a Verified Pro
- Structural woodwork warping, masonry drilling, or rotted frames
- High electrical voltages, MCB trips, or water line pipe bursts
- Multi-room installations requiring specialized power equipment
💬 Comments (0)