📑 Table of Contents (8 sections) — Tap to expand
⚡ Quick Takeaway (Position-0 Summary)
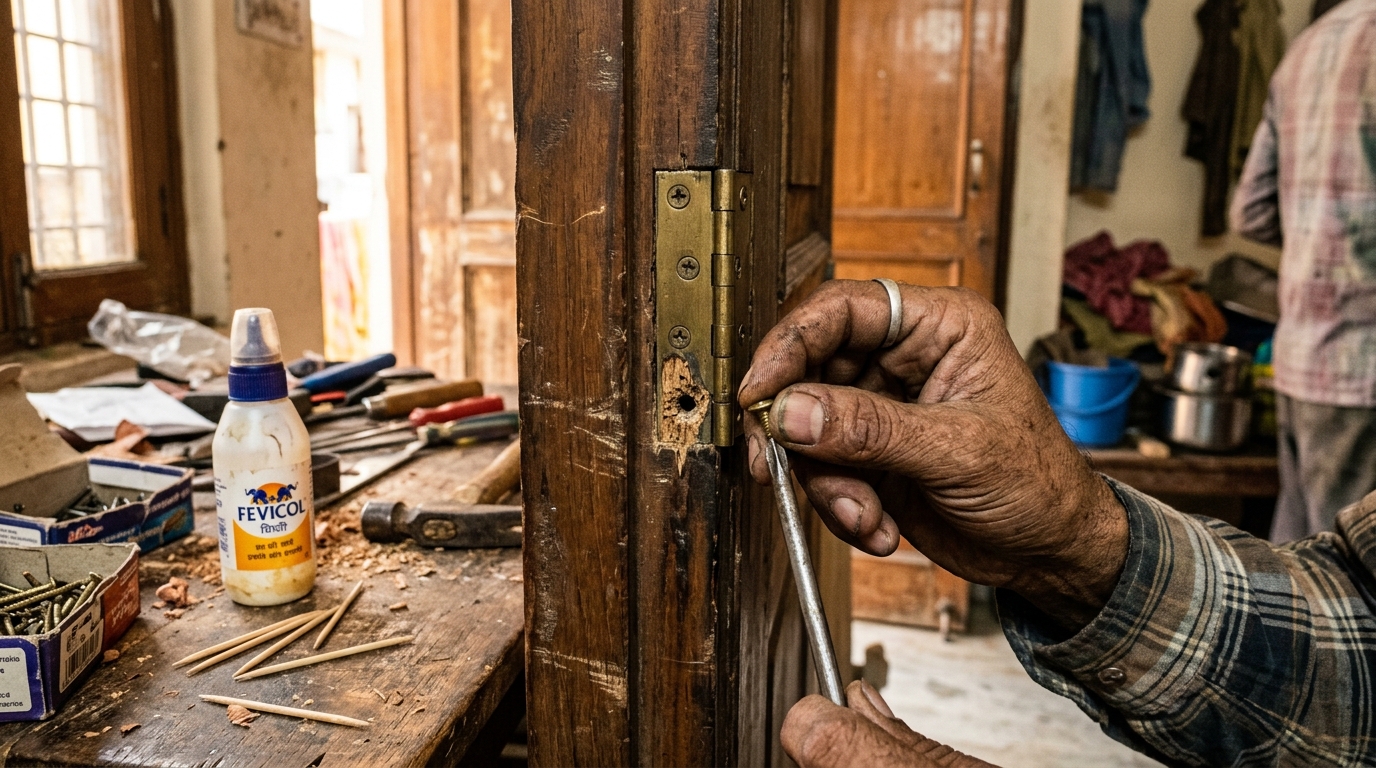
To repair a stripped screw hole in a door hinge, remove the loose screw, pack the enlarged hole with glue-coated wooden toothpicks or a matchstick dowel, let the Fevicol cure for 30-45 minutes, then re-drive the original screw into the now-solid wood. For badly worn holes, an Araldite-and-sawdust paste gives a permanently stronger grip.
Why Hinge Screws Spin Loose: Wood Grain Breakdown in Indian Homes
You go to tighten a loose door hinge screw, and instead of biting into the wood, it just spins — round and round, never getting any tighter. This is a stripped screw hole, and it's one of the most common small carpentry annoyances in Indian homes.
Why does it happen so often here? A few reasons stack up. Builder-grade door frames (chaukhats) are frequently made from softer, lower-density wood that doesn't hold screw threads as firmly as seasoned hardwood. On top of that, Indian humidity cycles — monsoon swelling followed by dry-season shrinking — repeatedly stress the wood fibers around a screw hole, gradually rounding it out. And the classic culprit: someone (often you, mid-repair) over-tightens a screw trying to fix a wobbly hinge, which tears away the remaining wood fibers and enlarges the hole further instead of solving anything.
The good news is this is a genuinely permanent fix once done properly — you're not just patching a problem, you're rebuilding solid, fibrous wood for the screw to grip into.
What You Will Need
Gather these basic everyday tools and household consumables before beginning:
- Screwdriver (star / Phillips head matching your hinge screw)
- Small hammer or mallet
- Utility cutter knife or wire pliers (to snip toothpicks flush)
- Electric drill with a small 2mm bit (for pilot holes on epoxy repairs)
- Wooden toothpicks (3-4 per hole) or matchsticks with heads cut off
- Fevicol MR or synthetic wood adhesive
- Araldite Standard Epoxy resin & hardener (for severely damaged holes)
- Fine sawdust or wood shavings (to mix with epoxy)
- Original hinge screws (plus slightly longer spare screws as backup)
⚠️ Critical Safety Warnings
Read this before you start:
- Don't keep force-tightening a spinning screw: This is the #1 mistake that turns a minor stripped hole into an unfixable crater. The moment you feel the screw spin without resistance, stop immediately and use the repair protocol below.
- Ensure ventilation with epoxy adhesives: Araldite and solvent adhesives emit mild chemical fumes; keep windows open if you are repairing multiple doors indoors.
- Hardware choking hazards: Keep loose toothpicks, tiny brass screws, and cutter blades far away from curious toddlers and pets.
- Support heavy doors: If the door is hanging on only one intact hinge while you repair the other, support the weight of the door from below using a wooden wedge or have a family member hold it. Never let a heavy solid wood door swing unsupported on a single loose hinge.
Step-by-Step Practical Execution Guide
-
Step 1: Remove the Screw and Inspect the Hole
Unscrew the loose screw completely. Look inside — if the hole is visibly rounded, enlarged, or you can see the screw was barely gripping anything, that confirms it's stripped. Note roughly how deep and wide the damage is; this decides which method below to use.
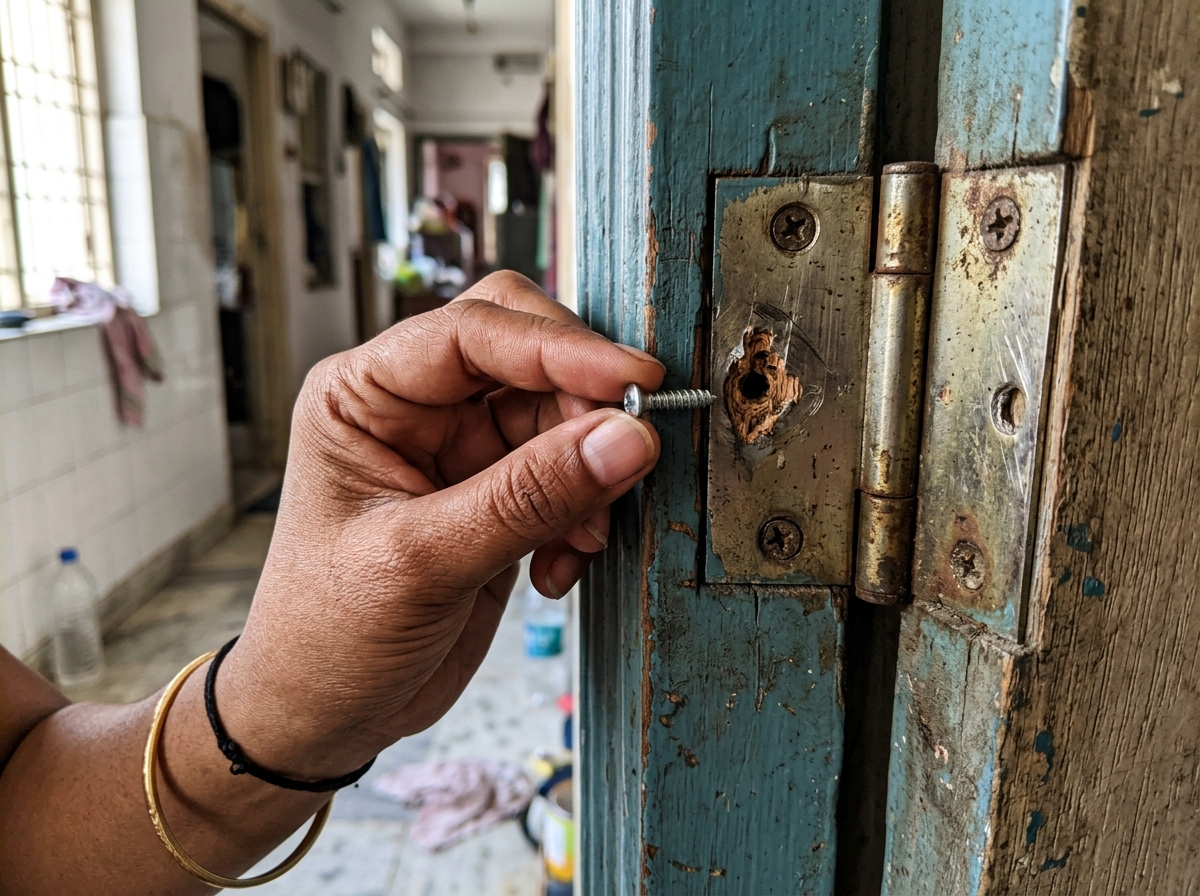
Step 1: Inspecting the stripped, enlarged screw hole behind the loosened brass door hinge. -
Step 2: The Toothpick-and-Fevicol Method (For Mild-to-Moderate Stripping)
Dip 3-4 wooden toothpicks in Fevicol, generously coating each one. Push them into the stripped hole until snug — you want them packed in tight, filling the gap the original screw threads used to grip.
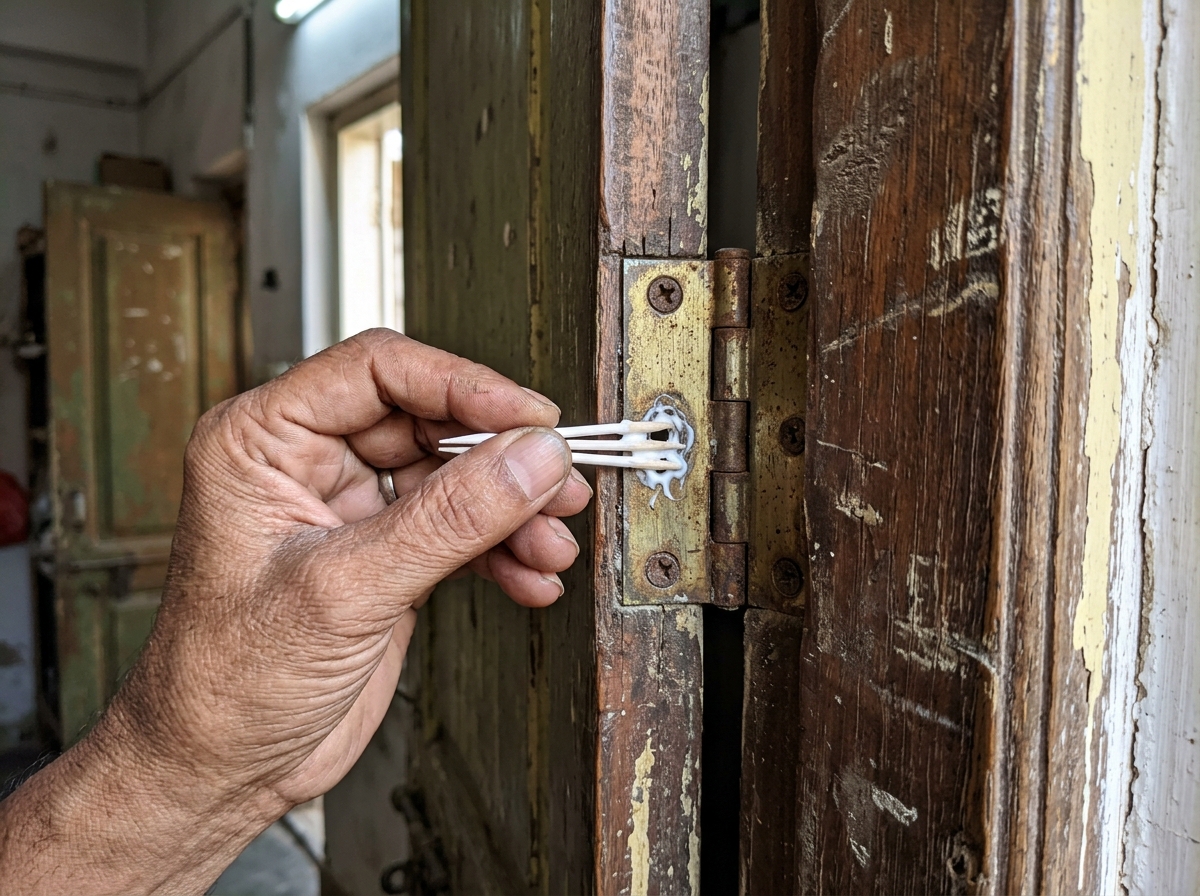
Step 2: Packing multiple Fevicol-coated toothpicks snugly into the enlarged screw cavity. -
Step 3: Trim Flush and Let It Cure
Snap or cut off any toothpick sticking out, leaving the surface roughly flush with the hinge plate. Let the glue cure for at least 30-45 minutes — ideally longer, even overnight if you have another door to use in the meantime. Rushing this step is the most common reason this fix fails.
-
Step 4: Re-Drive the Original Screw
Once cured, screw the original hinge screw back into the same spot. The toothpick wood gives it fresh, solid material to bite into — it should now tighten firmly with real resistance, not spin freely.
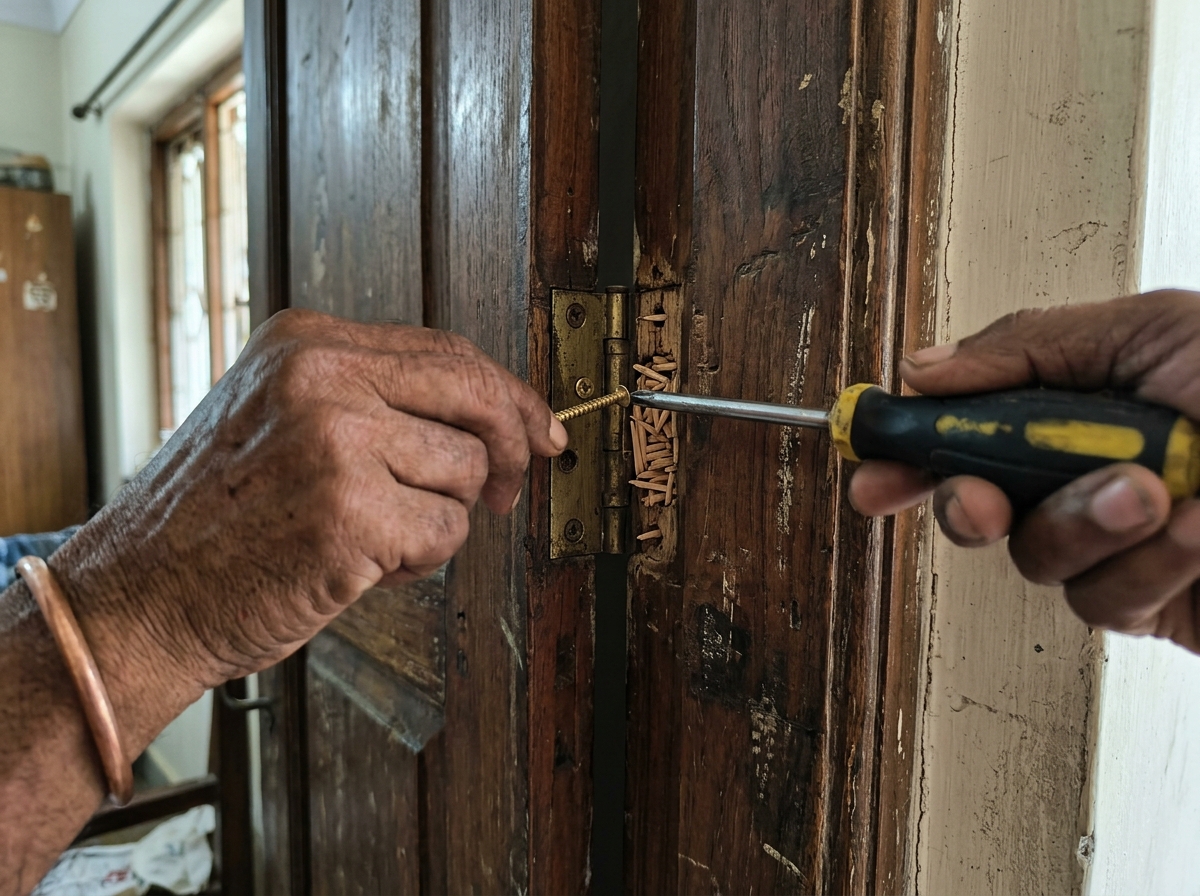
Step 4: Driving the screw back in — the fresh wood fiber gives it rock-solid mechanical bite. -
Step 5: For Badly Stripped Holes — The Araldite + Sawdust Method
If the hole is large, deep, or has been stripped repeatedly before, toothpicks alone won't hold long-term. Mix a small batch of Araldite epoxy (equal parts resin and hardener) with a pinch of fine sawdust or wood shavings until it forms a thick, moldable paste.
-
Step 6: Pack and Cure the Epoxy
Press this paste firmly into the stripped hole, slightly overfilling since it can settle a touch as it cures. Check the product's curing time (usually 4-6 hours for a full cure, sometimes longer) — do not disturb it during this window.
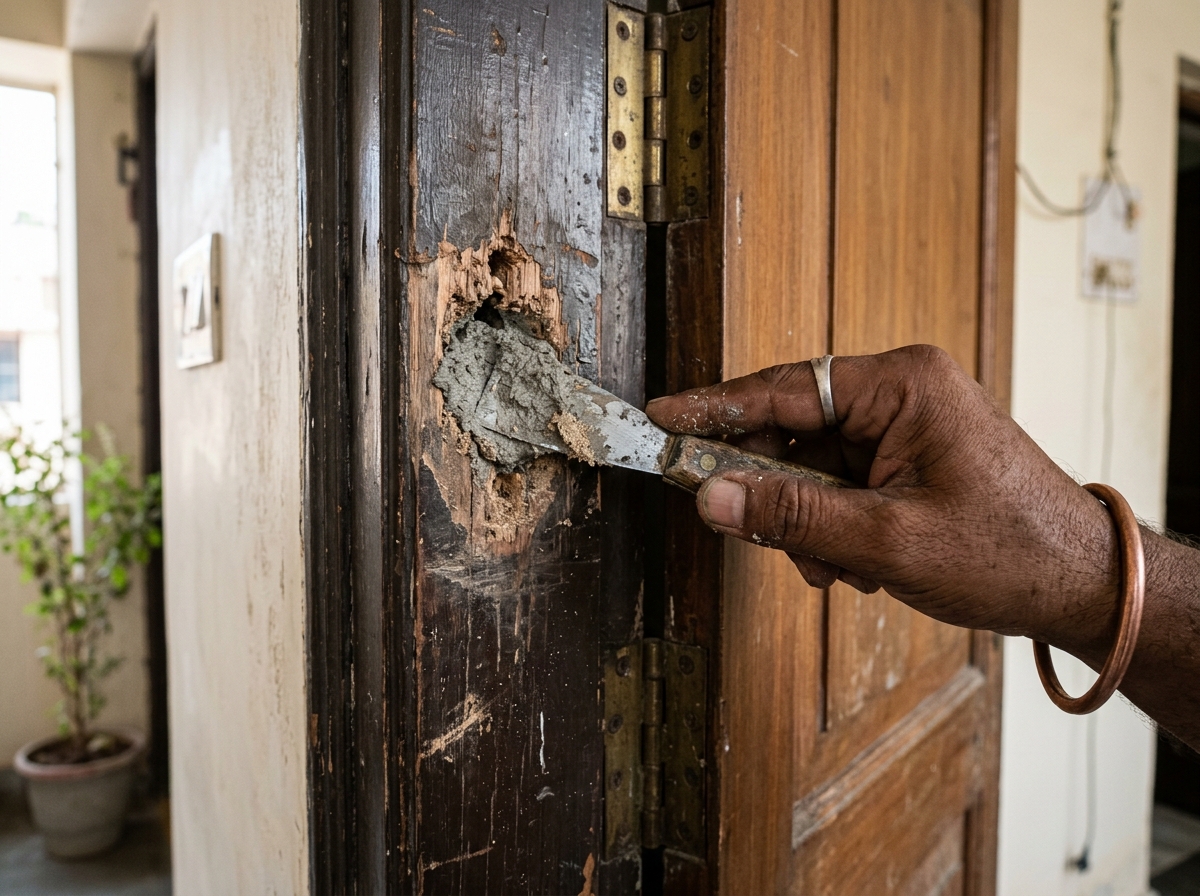
Step 6: Filling deep structural gouges with thick Araldite epoxy and sawdust paste. -
Step 7: Drill a Fresh Pilot Hole and Re-Screw
Once the epoxy has fully hardened into solid material, drill a small pilot hole (a starter hole slightly narrower than your screw, approx 2mm) directly into the center of the cured epoxy patch. This prevents the screw from cracking the epoxy plug when you drive it in. Screw the hinge back into place — it should hold with genuine strength now, often stronger than the surrounding original wood.
🛠️ Pro-Tips From the Field
- Match toothpick density to the hole diameter: If a screw hole is wide, thin toothpicks alone can leave hollow voids. Veteran Indian carpenters often shave down a bamboo splinter or a headless matchstick to create a dense, solid wooden core.
- Never skip the pilot hole on cured epoxy: Cured Araldite behaves like solid rock. Driving a screw directly into it without pre-drilling a pilot hole will either snap your screw head or crack the epoxy plug into pieces.
- Batch repair all stripped holes together: If a hinge has two or three loose screws, remove the hinge leaf and treat all holes simultaneously. Testing or hanging the door with half-cured holes will immediately tear out the fresh glue.
Troubleshooting Common Mistakes
Encountered an issue during or after the screw hole repair? Here are the three most common problems and their solutions:
- "I re-screwed it after only 10 minutes and it's already loose again." The glue hadn't cured. Remove the screw, clean out the hole, pack fresh toothpicks with Fevicol, and allow it to cure undisturbed for at least 30 to 45 minutes (longer in humid weather) before touching it again.
- "The screw went in but now it's cracked the wood around the hole." You likely used a screw that was too fat for the repaired pilot hole, or forced a screw directly into cured Araldite epoxy without pre-drilling. Back out the screw immediately; if using epoxy, drill a proper 2mm pilot hole before driving the screw in.
- "Toothpicks aren't filling the hole — there's still visible gap around them." The hole has been enlarged beyond what toothpicks can wedge into. Transition immediately to the Araldite epoxy and sawdust paste method (Steps 5–7), which fills structural voids of any shape permanently.
Conclusion & Related Tasks
A stripped screw hole might look like a catastrophic failure requiring an expensive frame replacement, but it's genuinely one of the easiest 20-minute permanent repairs in home carpentry. The golden secret is simply patience: give the adhesive time to cure into rock-solid wood before you drive that screw home.
Related Reads & DIY Guides on Carpenterwala
- How to fix a door that won't latch because it sags (Hinge Shimming Guide)
- How to fix squeaky, misaligned, or loose door hinges (Professional Carpentry Services)
- How to fix a loose wooden railing or baluster on stairs (Staircase & Woodwork Repair)

Rajesh Sharma
Verified SpecialistMaster Carpenter & Woodwork Consultant
Over 15 years of custom woodworking, furniture restoration, and modular interior fittings experience in Bangalore.
⚖️ DIY vs. Hiring a Professional: When to Call an Expert
✓ Safe to DIY
- Minor screw tightening or loose hinge lubrication
- Basic component replacement with matching dimensions
- Routine surface touch-ups and non-structural adjustments
⚠️ Hire a Verified Pro
- Structural woodwork warping, masonry drilling, or rotted frames
- High electrical voltages, MCB trips, or water line pipe bursts
- Multi-room installations requiring specialized power equipment
💬 Comments (0)