📑 Table of Contents (17 sections) — Tap to expand
You step out onto your balcony with a watering can, pour water into your potted money plant, snake plant, or hibiscus, and watch the water pool on the surface like it's sitting on a cement driveway — refusing to soak down. When you poke the surface with a stick, the dirt feels rock-hard, cracked, and completely lifeless. Despite regular watering and plant food, leaves are turning yellow, growth has stalled, and the plant looks permanently parched.
This is one of the most common frustrations among Indian apartment gardeners. The good news: your plant isn't dead, and you don't need to throw away your expensive planters. Compacted balcony soil is 100% reversible through organic soil regeneration and methodical root-ball repotting. In under 45 minutes, you can restore rich microbial structure, fluffy aeration, and rapid drainage to your balcony garden.
Why Potting Soil Turns Hard as Rock in Indian Apartments
Container gardening on urban balconies faces unique environmental stresses that rapidly destroy soil structure:
- Hard municipal & tanker borewell water scaling: Most Indian metro water supply (especially in Bangalore, Chennai, and Delhi-NCR) has high Total Dissolved Solids (TDS) and alkaline calcium/magnesium carbonates. Over months of evaporation, these mineral salts bind clay particles together into an impermeable crust.
- Cheap nursery topsoil without organic fiber: Loose red or black soil (*mitti*) sold by roadside vendors is often raw subsoil dug from construction sites. Without compost or coir fiber, repeated wet-and-dry cycles turn it into dense brick-like clay.
- Absence of natural earthworm aeration: Unlike open ground soil where earthworms, burrowing insects, and ground roots naturally create air tunnels, sealed apartment pots have zero natural aeration.
- Intense summer balcony baking: East and west-facing apartment balconies experience direct 40°C heat. Sun-baked terracotta and plastic pots bake the top 5 cm of soil into a hardened shell.
- Severe root-bound root crowding: As roots outgrow the container, they coil tightly around the pot edges, squeezing out pore spaces until no loose soil remains to hold moisture.
What You Will Need
Gather these gardening tools and organic soil conditioning ingredients:
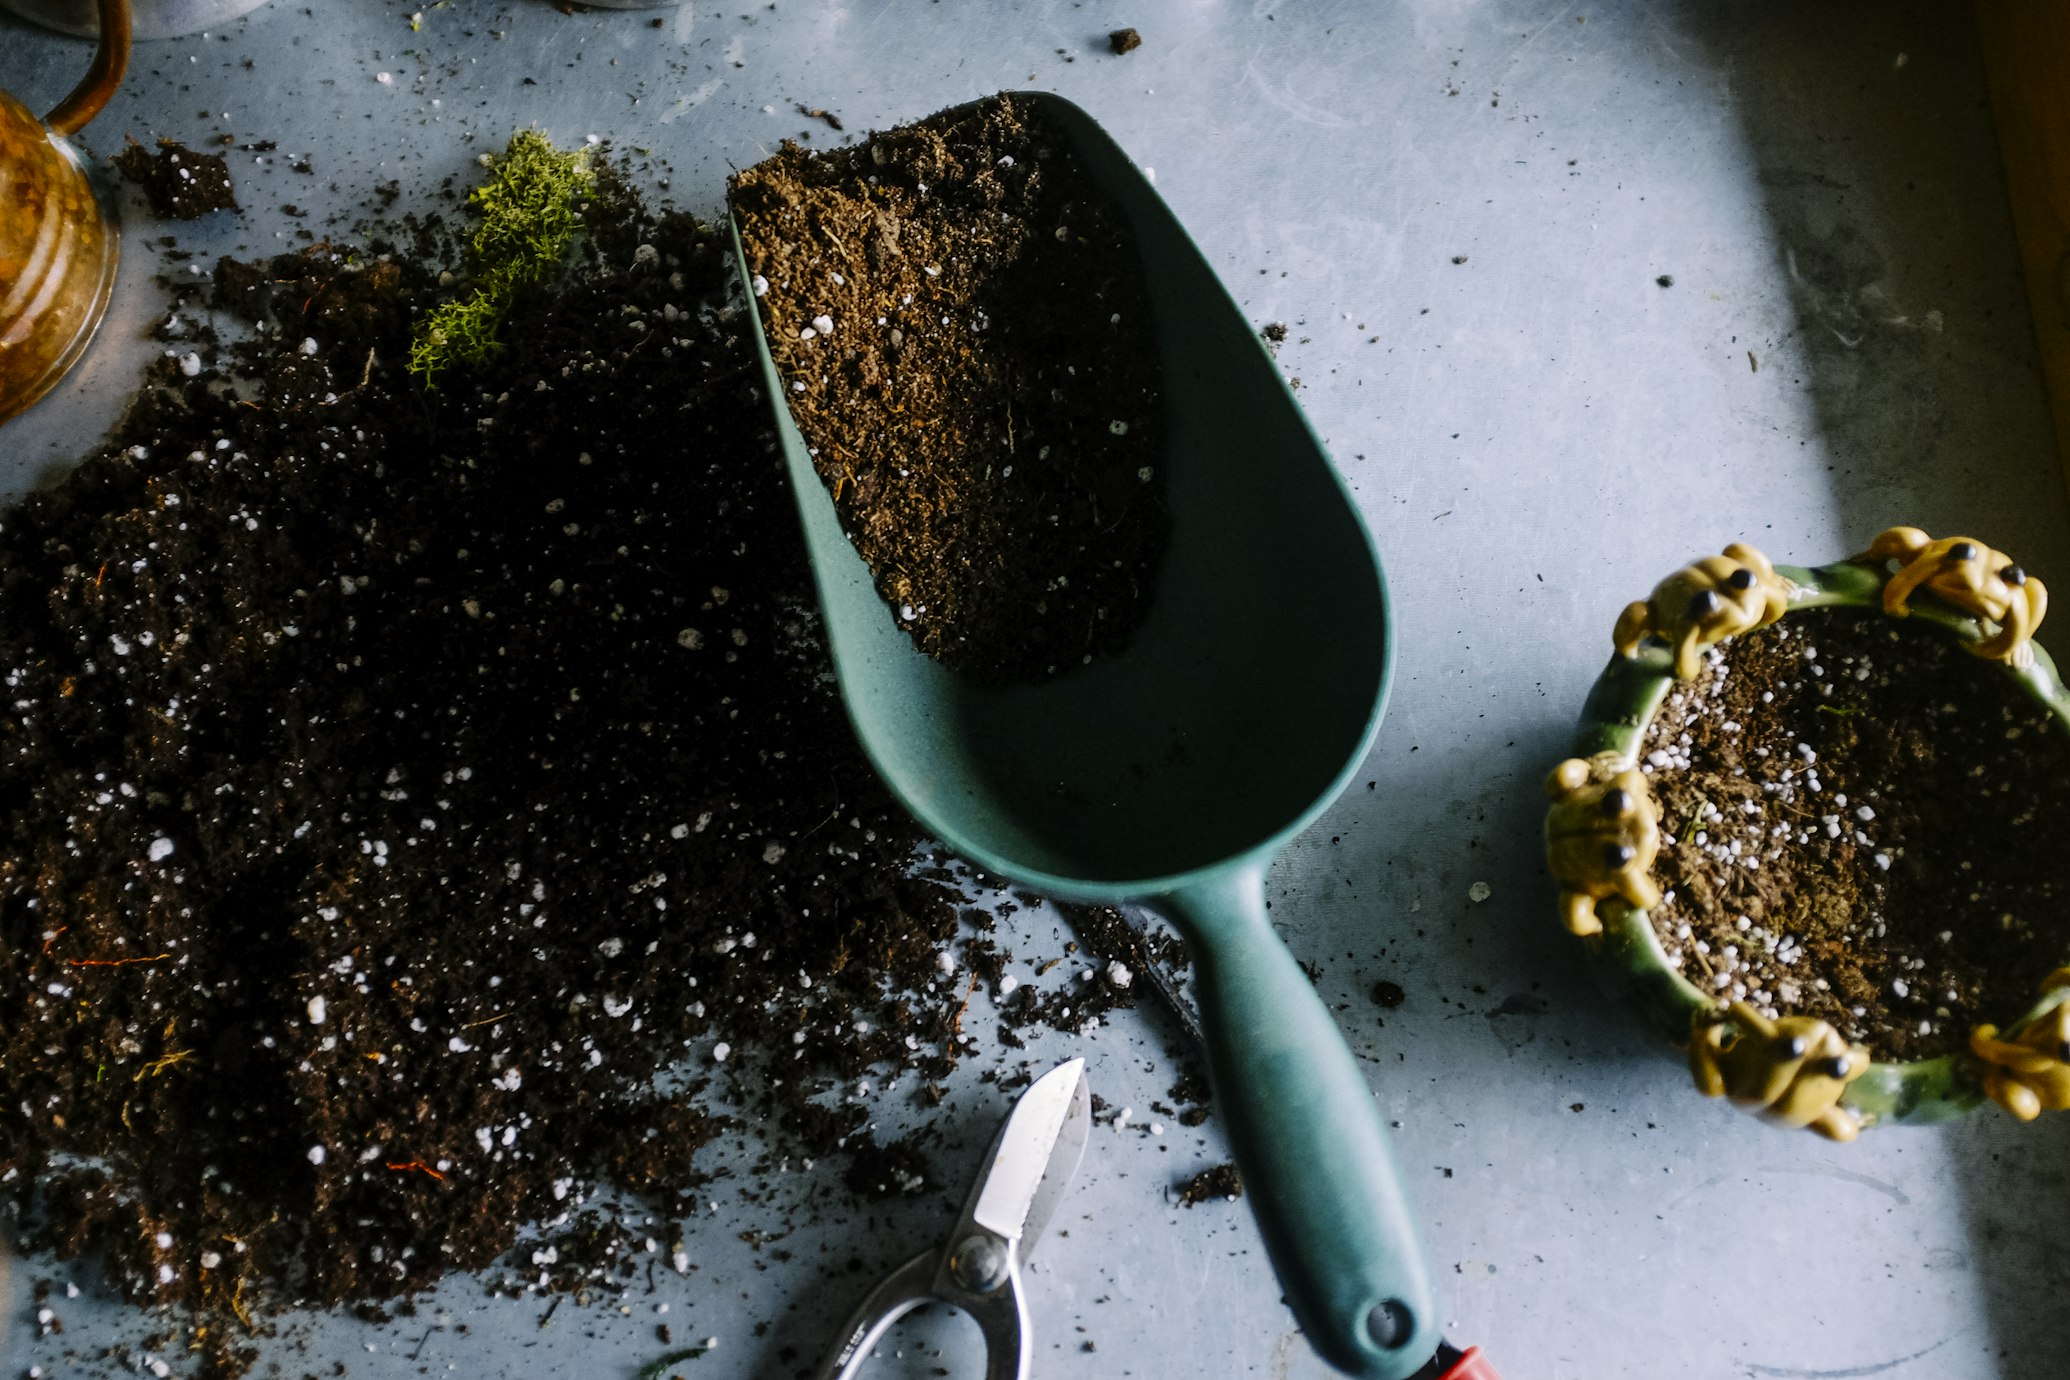
- Classic Indian hand trowel (*khurpi*) or mini garden fork: For loosening compacted edges
- Compressed coco-peat (coir pith) brick: The gold standard for water retention and soil fluffiness
- Enriched vermicompost (earthworm castings): For essential nitrogen, phosphorus, potassium, and beneficial microbes
- Neem cake powder (*neem khali*): Natural organic pest repellent that prevents soil-borne root nematodes and fungal rot
- Perlite or coarse river sand (*badarpur*): For opening permanent oxygen pores in dense soil
- Well-rotted cow dung manure (*gobar ki khaad*): Optional traditional organic booster
- New terracotta, ceramic, or UV-stabilized plastic pots: 2 to 3 inches wider in diameter for root-bound plants
- Broken clay pot shards, river pebbles, or gravel (*gitti*): For creating unclogged bottom drainage layers
- Sharp bypass pruning shears or clean utility knife: For trimming circling root bound webs
- Heavy-duty rubber gardening gloves & N95 dust mask: For hygiene and dust protection
- Plastic tarp sheet or old newspapers: For protecting balcony floor tiles from mud stains
⚠️ Safety & Balcony Maintenance Warnings: Read Before You Start
- Never balance heavy wet pots on high-rise balcony railings: Wet potting mix and large ceramic pots weigh 15–25 kg. Always move pots down to flat balcony flooring before digging or repotting to eliminate high-rise drop hazards.
- Ensure balcony floor drains are clear before flushing: Excess muddy run-off during repotting can clog balcony water spouts, causing water pooling that seeps through slab micro-cracks into the ceiling of the flat below.
- Lightly mist bone-dry soil before digging: Dry compacted soil crumbles into fine silica and fungal spore dust when struck with a trowel. Spray with water and wear an N95 mask to prevent respiratory irritation.
- Always wear gloves when handling manure and vermicompost: Protect cuts from soil bacteria and fungal organisms (*sporotrichosis*). Wash hands thoroughly with soap afterward.
- Prune roots cutting strictly away from your body: Thick tangled root masses can slip suddenly when slicing with a pruning knife. Keep hands clear of blade trajectories.
Step-by-Step Practical Execution Guide
Step 1: Check Soil Hardness & Root-Bound Signs
- Try pushing your index finger 2 inches into the soil. If it feels like dry plasterboard, the soil is severely compacted.
- Inspect the drainage holes at the bottom of the pot. If thick white or brown roots are protruding out or spiraling in tight circles, the plant is root-bound and requires a pot upgrade.
Step 2: Pre-Soak and Soften the Hardened Soil
Never fight bone-dry soil with sharp tools. Fill a spray bottle with clean water, spray the top 3 inches thoroughly, and let the pot rest for 20 to 30 minutes. The moisture softens the clay bonds, making root separation painless.
Step 3: Perimeter Loosening with a Khurpi
- Hold your *khurpi* vertically and gently slice down along the inner perimeter rim of the pot, separating the compacted root-ball from the pot wall.
- Tilt the pot at a 45-degree angle. Tap the outside of the pot firmly with your palm or a rubber mallet to loosen the suction.
- Support the plant stem base with one hand and slide the root-ball out smoothly onto your tarp sheet.
Step 4: Mix the "Golden Balcony" Soil Regeneration Recipe
Hydrate your compressed coco-peat block in a bucket of water (it expands up to 5x its volume). On your mixing tarp, blend the following optimal urban balcony potting ratio:
- 50% Expanded Coco-Peat: Retains moisture without suffocating roots; prevents clay baking.
- 30% Enriched Vermicompost: Provides slow-release organic nutrients and rich humic acids.
- 10% Coarse River Sand or Perlite: Guarantees rapid hydraulic drainage and air porosity.
- 10% Crumbled Native Soil (Old Potting Mix): Recycles existing minerals and beneficial local microbes.
- 2 Tablespoons Neem Cake Powder (*Neem Khali*): Natural antifungal booster that protects freshly cut roots.
Step 5: Loosen the Tangled Root Ball (*Root Teasing*)
- Using your fingers or a small fork, gently massage the bottom and sides of the root ball, shaking loose 30–50% of the old depleted, hard clay.
- Inspect for root rot: healthy roots are crisp, cream-white, or light tan. Dark brown, mushy, or foul-smelling roots must be trimmed away with sanitized pruning shears.
- Root Scoring: If roots form a dense impenetrable mat at the base, make 3 to 4 shallow vertical slices (1 cm deep) down the sides with your utility knife. This breaks root circling memory and stimulates vigorous lateral root branching.
Step 6: Prepare the Unclogged Drainage Base
- Select a clean pot that is 2 to 3 inches (5–8 cm) larger in diameter than the previous container.
- Place a curved piece of broken terracotta pot shard (*theekri*) or a 2 cm layer of clean river pebbles (*gitti*) loosely over the bottom drainage hole.
- This allows excess water to escape freely while preventing your fresh soil mix from washing out onto the balcony floor.
Step 7: Re-Pot at Proper Planting Depth
- Add a 5 cm base layer of your fresh fluffy soil blend into the bottom of the pot.
- Place the plant in the center. Adjust the base layer until the plant's root crown sits 2 to 3 cm below the rim of the pot (leaving adequate room for watering without spillover).
- Fill in the surrounding perimeter with your soil mix, tapping the pot lightly on the floor to settle voids without crushing the soil structure.
Step 8: Deep Initial Watering & Bubble Release
Water generously with a watering can fitted with a fine sprinkler rose until water flows freely out of the bottom drainage holes. You will see air bubbles escaping as the fluffy mix settles perfectly around the root fibers.
Step 9: Post-Transplant Shade Recovery (4–5 Days)
Move the newly repotted plant to a bright, shaded corner of your balcony away from direct scorching afternoon sun for 4 to 5 days. This eliminates transplant shock and allows damaged root tips to heal before resuming active photosynthesis.
Troubleshooting Common Mistakes
- "The leaves are drooping severely 2 days after repotting."
This is normal transplant shock as root hairs adjust. Keep the plant in full shade, mist the leaves lightly with water, and ensure the soil remains moist (not waterlogged). Leaves will perk up within 5–7 days. - "Water drains out of the bottom hole within 2 seconds."
Your mix contains too much sand or the soil pulled away from the sides. Top up with additional hydrated coco-peat and press the perimeter edges gently down. - "The soil still feels hard and dry after pouring a full mug of water."
Dry coco-peat can become hydrophobic if left bone-dry for weeks. Bottom-water the pot: place the entire planter inside a shallow tub filled with 5 cm of water for 20 minutes so it drinks from the bottom up. - "White powdery mold is growing on top of the soil."
Excessive humidity and poor balcony airflow cause harmless surface saprophytic mold. Loosen the top 1 cm of soil with a *khurpi*, sprinkle 1 teaspoon of cinnamon powder or neem cake, and reduce watering frequency. - "The pot is too heavy to move for repotting."
For massive 18-inch cement planters, do a top-dressing refresh: scrape away the top 3 inches of compacted soil without disturbing the main root ball, replace with a rich 50:50 coco-peat and vermicompost blend, and water deeply.
When to Call a Professional Balcony Landscaper Instead
While standard 6-to-12-inch balcony pots are easy DIY projects, consider hiring professional landscaping services if:
- You have large 50+ kg ceramic planters or mature balcony trees (Ficus, Frangipani, Palm) requiring heavy lifting and root pruning cranes.
- You want to install a comprehensive **automatic drip irrigation timer system** with pressure compensators to prevent hard-water soil compaction permanently.
- You are setting up customized vertical green wall panels or artificial turf drainage systems on large penthouse terraces.
- Your balcony suffers from structural floor seepage requiring membrane waterproofing before garden installation.
Wrapping Up
Hard, compacted soil is simply a cry for organic aeration and mineral balance. By blending lightweight coco-peat, nutrient-rich vermicompost, and practicing root teasing, your balcony plants will reward you with vibrant green foliage, lush flowers, and healthy root systems season after season.
To keep your home and balcony in peak condition, explore our related guides on how to drill balcony walls without cracking tiles, fixing wall cracks and moisture flaking paint with putty, and monsoon-proofing external walls against water seepage.
Need Comprehensive Home Maintenance, Balcony Waterproofing, or Carpentry?
From repairing balcony seepage and installing wooden planter ledges to complete home repairs, our verified service professionals deliver trusted solutions across Bangalore in Whitefield, Koramangala, Indiranagar, and HSR Layout.

Carpenterwala Editorial Team
Verified SpecialistHome Improvement Advisors
Our team of experienced coordinators and service verifiers writing expert tips for local Bangalore homes.
⚖️ DIY vs. Hiring a Professional: When to Call an Expert
✓ Safe to DIY
- Minor screw tightening or loose hinge lubrication
- Basic component replacement with matching dimensions
- Routine surface touch-ups and non-structural adjustments
⚠️ Hire a Verified Pro
- Structural woodwork warping, masonry drilling, or rotted frames
- High electrical voltages, MCB trips, or water line pipe bursts
- Multi-room installations requiring specialized power equipment
💬 Comments (0)